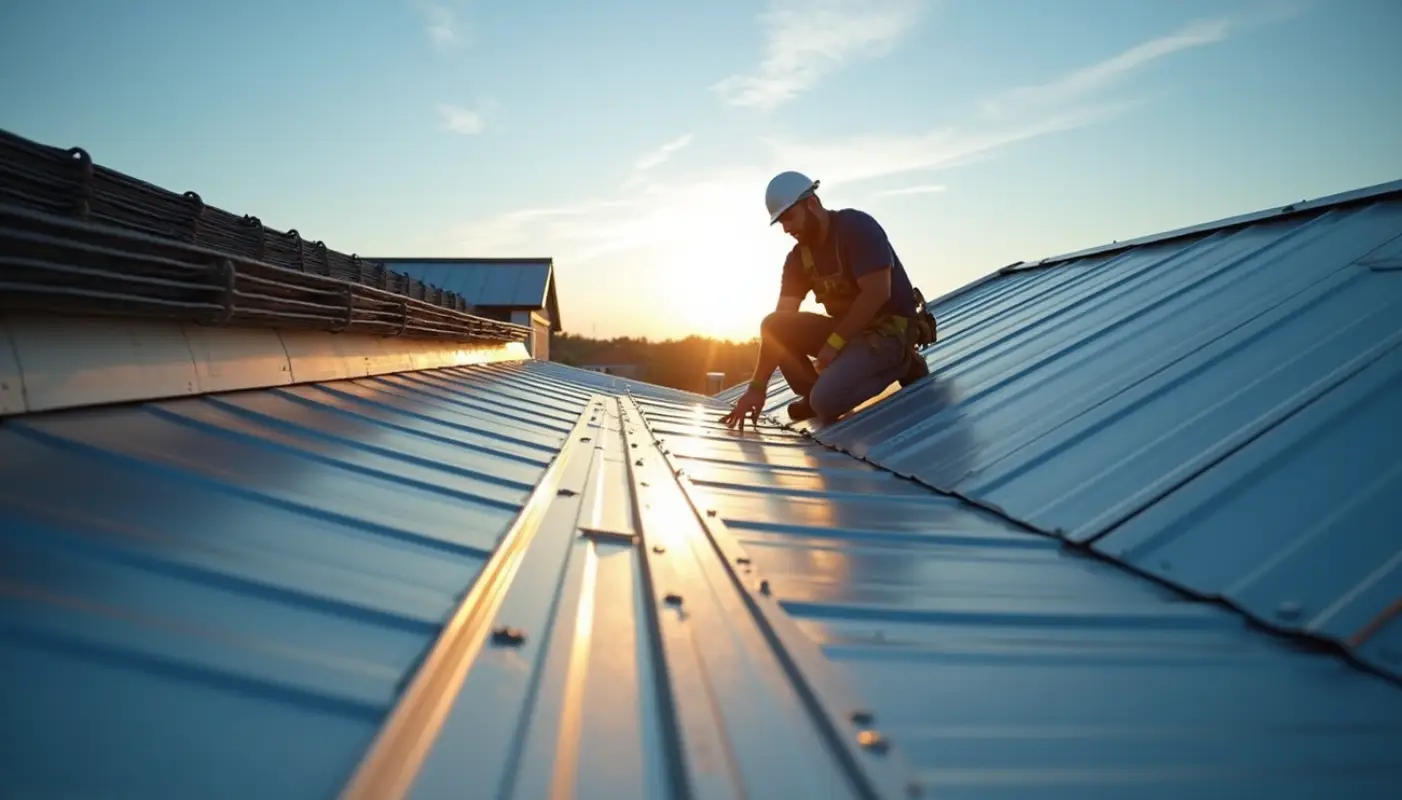
Many homeowners and contractors search for guidance on how to install standing seam metal roof panels because this type of roofing not only enhances curb appeal but also provides superior weather resistance and long-term value.
A standing seam metal roof is a most important investment that can last a lifetime. The upfront cost reaches nearly $30,000 in materials, yet more homeowners choose this durable roofing system because of its exceptional lifespan. The system features metal panels that lock together at the seams while hiding fasteners underneath. This design creates a roof that’s both functional and visually appealing.
Roofing professionals have helped homeowners navigate through roof replacement and installation over the last several years. The installation of a standing seam metal roof demands careful attention to detail and specific techniques.
The ridge cap installation is a vital step to ensure water-tight protection in vulnerable areas. Professional installation becomes necessary due to specific requirements like the minimum slope of 3 inches rise per foot and proper perimeter flashing that resists wind uplift forces.
This piece guides you through every step of the standing seam metal roof installation process. The journey starts from material selection and continues to the final touches. Homeowners thinking over this premium roofing option or contractors expanding their services will enjoy its benefits for decades. Manufacturers back this confidence with impressive warranties extending up to 40 years.
Gathering Materials for Standing Seam Metal Roof Installation
Getting ready to install a standing seam metal roof starts with gathering all your materials. Quality components make all the difference in metal roof installation. Let’s get into what you’ll need to tackle this most important project.
Roof decking and underlayment
Solid roof decking forms the base of any successful metal roof installation. You’ll typically find it made from plywood, OSB (Oriented Strand Board), or wooden planks – these materials are the foundations of everything else. Take time to really inspect your existing decking before moving forward. Replace any damaged sections to give a structure that supports your new metal roof system’s weight.
Metal roofing needs more than standard felt or synthetic materials for underlayment. You should use self-adhering, high-heat ice and water shield made specifically for metal roofs. Cotton-like fibers in this specialized underlayment keep it from sticking to metal panels during expansion and contraction. Metal roofing paired with high-quality synthetic underlayments can boost energy efficiency by up to 218% compared to traditional felt paper.
Standing seam metal panels
Metal panels stand out as your roof system’s most visible part. You’ll need to pick from several panel types:
- Mechanically seamed panels – Most weather-tight, ideal for slopes as low as 0.5:12
- Snap lock panels with clips – Best all-around solution balancing performance and ease of installation
- Nail strip systems – Slightly easier to install but inferior in performance
Standing seam panels come with ribs spaced 12-24 inches apart. Panel connections at the seams create a concealed fastener system that eliminates moisture-letting holes from nails or screws. Quality standing seam installations typically use 24-gage steel, though 22 and 26-gage options exist.
Clips, lock strips, and fasteners
Your attachment system plays a vital role in proper installation. Clips hold panels to the roof deck and allow thermal movement. You’ll need to install these clips every 12-24 inches along the panel’s vertical part using gimlet screws. Each new panel snaps onto the previously installed clip to create the secure “seam” – that’s where the system gets its name.
Lock strips protect metal panels at the edges from wind damage during storms. These strips should match your standing seam panels’ color, metal type, and gage. Self-drilling screws made specifically for metal roofing come in various head styles and lengths.
Z bar and ridge capping
Z bars and ridge capping finish off your installation needs. Z bars are metal pieces bent into a Z shape that rise about 1/8 inch above the panel ribs. They fill gaps between ribs at the ridge and transitions to keep water out.
Ridge capping tops off your metal roof system where two slopes meet. Match this capping to your metal panels’ type and color for the best look and performance. Slope angle transitions need transition metal extending 6 inches downward to create a straight plane that locks onto the Z bar.
Having all these materials ready before you start will make your installation smoother and give you better results.
Preparing the Roof Surface Before Installation
A well-prepared roof surface will give a solid foundation when you’re getting ready to install a standing seam metal roof. My 25 years as a roofing contractor have taught me that good preparation really affects how long your metal roof will last and how well it performs. Let me guide you through the steps you need to take.
Tear off old roofing materials
Roofers often ask about “tear-off vs. overlay” when talking about standing seam metal roof installation. Taking off the old roof gives you the best long-term durability and performance. The crew starts at the corner farthest from the driveway and works their way toward the dump trailer. Some team members remove materials while others make sure all debris gets safely into designated disposal areas.
You might want to save time and money by putting metal over existing shingles, but this can create issues later. Hidden moisture, mold, or deterioration in old shingles can harm your new roof’s integrity. On top of that, a rough or uneven existing roof will make your standing seam metal roof look bad and not work as well.
Inspect and replace damaged decking
After removing the old roof, you can see the condition of your roof deck. Look for rotting, broken, or weak wooden boards. Watch out for sagging spots, color changes, and boards that feel soft when you walk on them. You’ll need to replace any bad sections before moving forward with the metal roof installation.
Your roofers will need new decking that matches your existing thickness, the right tools, and proper fasteners. They’ll cut out bad sections without hurting the rafters, measure and cut new pieces, and attach them securely. Each cut section should sit on a rafter to support the new boards properly.
Install lock strips at eaves and rakes
The last prep step before installing the ridge cap involves securing the roof’s edges. Lock strips go on the eaves (bottom edge) and rakes (slanting edge). These parts keep your metal panels anchored at vulnerable spots and stop wind and water from getting in.
The strips need to be placed just right. Check if your roof is square and adjust edge parts to fix any problems. Without proper alignment, you might see tapered panels or “sawtoothing” where square-cut panel ends meet their neighbors at slight angles.
Areas with strong winds (usually the three panels closest to the rakes) need clips every foot for extra strength. The eaves get clips at 6 inches and 1 foot from where panels end, then every 2 feet along the remaining seam. This smart clip placement helps your roof stand up to tough weather.
Installing Underlayment and Flashing
The next step after preparing your roof surface is creating a watertight foundation. Your roof’s defense against moisture depends on the underlayment and flashing system.
Apply high-heat ice and water shield
The right underlayment selection is vital for metal roofing systems. You need a self-adhering, high-heat ice and water shield instead of standard felt or synthetic underlayment. Standard materials cannot handle the extreme temperatures under metal panels, which can exceed 250°F in direct sunlight.
Metal roof-specific ice and water shields come with cotton-like fibers. These prevent the metal panels from sticking during thermal expansion and contraction. These specialized materials can resist temperatures up to 240-260°F and handle UV exposure for 90-120 days.
Start at the lowest point of the roof to apply the underlayment horizontally. Each row should overlap in a shingling pattern. Manufacturers typically recommend:
- Cleaning the deck thoroughly
- Cutting the underlayment into manageable 10-15 foot lengths
- Starting at the eave edge and working upward
- Ensuring 6-inch end laps and 3-inch side laps
Self-adhered underlayments work best in valleys and around penetrations. Building codes require this protection to extend at least 2 feet inside exterior walls.
Install eave and valley flashing
Valley flashing needs extra attention during installation. The valley area channels much water runoff where two roof slopes meet.
Position the valley pan (also known as “W” valley due to its raised center) first. Cut it precisely to fit where the eaves join at inside corners. The valley metal should slightly overhang at the eave while fitting properly at the ridge line.
Low-slope roofs (less than 3:12 pitch) need tape sealant between the valley trim and panel, with fasteners compressing the sealant. Steep-slope roofs (greater than 3:12) look better with panels cut at an angle for the valley. The hem end should be bent and hooked with a cleat for a clean architectural look.
Add drip edge and gable trim
Securing the perimeter with drip edge and gable trim completes this phase. These elements protect against wind uplift forces.
Attach eave flashing using #10 one-inch pancake head screws every six inches. This spacing protects against maximum wind uplift during storms. All joints need thorough caulk sealing.
Gable trim installation starts with attaching a cleat every eight inches using pancake head fasteners. Next comes the Z closure, set in butyl tape and fastened every four inches. The rake flashing should engage both the cleat and Z closure, secured with rivets every 18 inches.
This phase focuses on water protection and creating proper expansion pathways for your metal roofing system.
How to Install Standing Seam Metal Roof Panels
The real fun of installing standing seam metal roof panels starts after you place the underlayment and flashing. Your project moves from prep work to visible progress as metal panels take their place.
Cut and prepare the first panel
The first panel needs careful prep work. “Measure twice and cut once” remains the golden rule when learning to install standing seam metal roof. Most installations need the last panel cut down to size. Start by marking a fold line at your desired width, then mark a cut line 1¾ inches beyond.
Make double cuts and line up the blade to either side of your mark before cutting through the panel. You’ll need to cut the female side of the first panel and bend it up at 90 degrees to hook onto the receiver trim.
Attach panels using clips and screws
Clips let the panel change dimensions without wearing out its fastening. Place clips no more than 8-10 inches from the edge of the standing seam sheet. Areas with the greatest wind load (usually within three panels of the rakes) need clips every foot for extra security. Skip the impact drivers since they can overtighten fasteners. Use compact drills with clutch settings instead.
Ensure proper alignment and spacing
Panel modularity checks are crucial during installation. Measure across multiple ribs at both ends to verify square installation. Keep checking your true squared lines throughout installation to keep panels straight. Panels expand and contract lengthwise, so fix each panel along the ridge but secure it at eaves with a hem that locks on the drip edge.
Check for oil canning and adjust
Oil canning can make flat metal look wavy on your standing seam metal roof. You can’t eliminate it completely, but several tricks help minimize it. Space and tighten fasteners properly to prevent stress points.
You might want to add striations or tension leveling techniques to reduce visible waviness. Wide panels without strengthening ribs need a ½-inch foam backer rod from ridge to eave on each panel’s centerline. This creates a slight crown that lets the panel expand without oil canning.

How to Install Ridge Cap on Standing Seam Metal Roof
The final step to complete a standing seam metal roof installation involves capping the ridge properly. This critical step keeps water from entering at the roof’s highest point. My experience with hundreds of metal roof installations has taught me that ridge cap installation demands both precision and careful attention to detail.
Install Z bar at the ridge
Z bars create the foundation for your ridge cap. These metal pieces bend into a Z shape and stand about 1/8 inch taller than the panel ribs. Start by applying double-sided butyl tape to the lower section of each Z closure. The Z bar’s colored side should face downward since its lower portion remains visible. Make each Z closure cut about half an inch narrower than your standing seam panel width. Secure each Z bar with four pancake screws, though your panel size and load requirements determine the exact number needed.
Attach ridge cap or transition flashing
The actual ridge cap installation comes next. Apply double-sided butyl tape along the top section of your installed Z closures. Place non-curing butyl sealant along all Z closure edges.
Your first ridge cap piece needs careful centering – either flush with the ridge end or with a slight overhang based on your design specs. Pop rivets secure the ridge cap on each side and at gable ends. Additional ridge cap pieces should overlap by 6 inches, with silicone sealant applied at each overlap roughly 3 inches from the edge.
Seal and finish gable ends
Gable end finishing starts with a mark 1 inch from the ridge cap edge. Cut at the center to your mark and notch out the hems on both sides up to this point. Both tabs need to fold downward at 90 degrees. Draw a straight line on the center of the top tab and cut along it.
Foam closure strips under the cap help seal out wind, water, and pests. A consistent line of fasteners and silicone sealant on all exposed edges ensures complete waterproofing. These finishing details make the difference between a good installation and an excellent one.
How To Install Standing Seam Metal Roof Frequently Asked Questions
What are the key steps in installing a standing seam metal roof?
The main steps include removing old roofing, inspecting and replacing damaged decking, installing underlayment and flashing, attaching metal panels using clips and screws, and finally installing the ridge cap. Proper preparation and attention to detail throughout the process are crucial for a successful installation.
How should clips be spaced when installing standing seam metal roof panels?
Clips should generally be placed at maximum 8-10 inches from the edge of the standing seam sheet. In areas experiencing greater wind load, such as within three panels of the rakes, install clips every foot for additional security. Always follow manufacturer guidelines for specific spacing requirements.
Is plywood necessary under a standing seam metal roof?
Yes, plywood or OSB decking is typically recommended under a standing seam metal roof. A solid wood deck provides a stable foundation for the roof system. Use at least 5/8″ plywood for best results, ensuring it’s in good condition before installing the metal panels.
What type of underlayment is best for a standing seam metal roof?
For metal roofing, use a self-adhering, high-heat ice and water shield specifically designed for metal roofs. This specialized underlayment can withstand the extreme temperatures under metal panels and features fibers that prevent sticking during thermal expansion and contraction.
How is the ridge cap installed on a standing seam metal roof?
To install the ridge cap, first attach Z bars along the ridge, standing slightly taller than the panel ribs. Apply butyl tape and sealant, then center and secure the ridge cap pieces with pop rivets. Overlap additional pieces by 6 inches, applying silicone sealant at each overlap. Finish by sealing gable ends and using foam closure strips for complete waterproofing.
How long does a standing seam metal roof typically last?
A standing seam metal roof can last 40–70 years with proper installation and maintenance. Its durability depends on factors such as material quality, weather exposure, and adherence to installation best practices. Regular inspections and prompt repairs extend its lifespan significantly.
Can a standing seam metal roof be installed over existing shingles?
Yes, in many cases standing seam metal roofs can be installed over one layer of existing shingles, provided the decking is in good condition. However, removing the old shingles is recommended to prevent unevenness, reduce weight, and allow for proper underlayment installation.
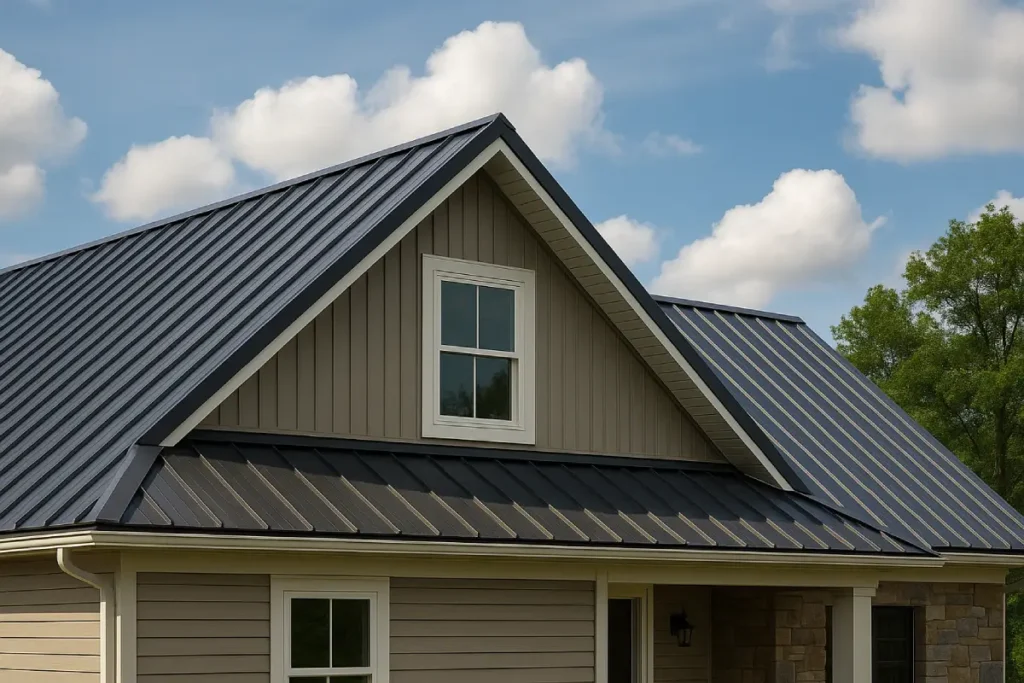
What are the advantages of standing seam metal roofs compared to asphalt shingles?
Standing seam metal roofs offer superior durability, energy efficiency, fire resistance, and low maintenance. They withstand extreme weather better than asphalt shingles and provide a longer service life. While the upfront cost is higher, long-term savings often make them more cost-effective.
Do standing seam metal roofs require regular maintenance?
Yes, although minimal, maintenance is still required. This includes checking for loose fasteners, inspecting flashing and sealants, clearing debris, and ensuring proper drainage. Routine maintenance helps prevent leaks and extends the roof’s performance.
Are standing seam metal roofs energy efficient?
Yes, standing seam metal roofs are highly energy efficient. Their reflective surfaces reduce heat absorption, lowering cooling costs in summer. Some systems are designed to accommodate solar panels, making them even more sustainable for homeowners seeking energy savings.