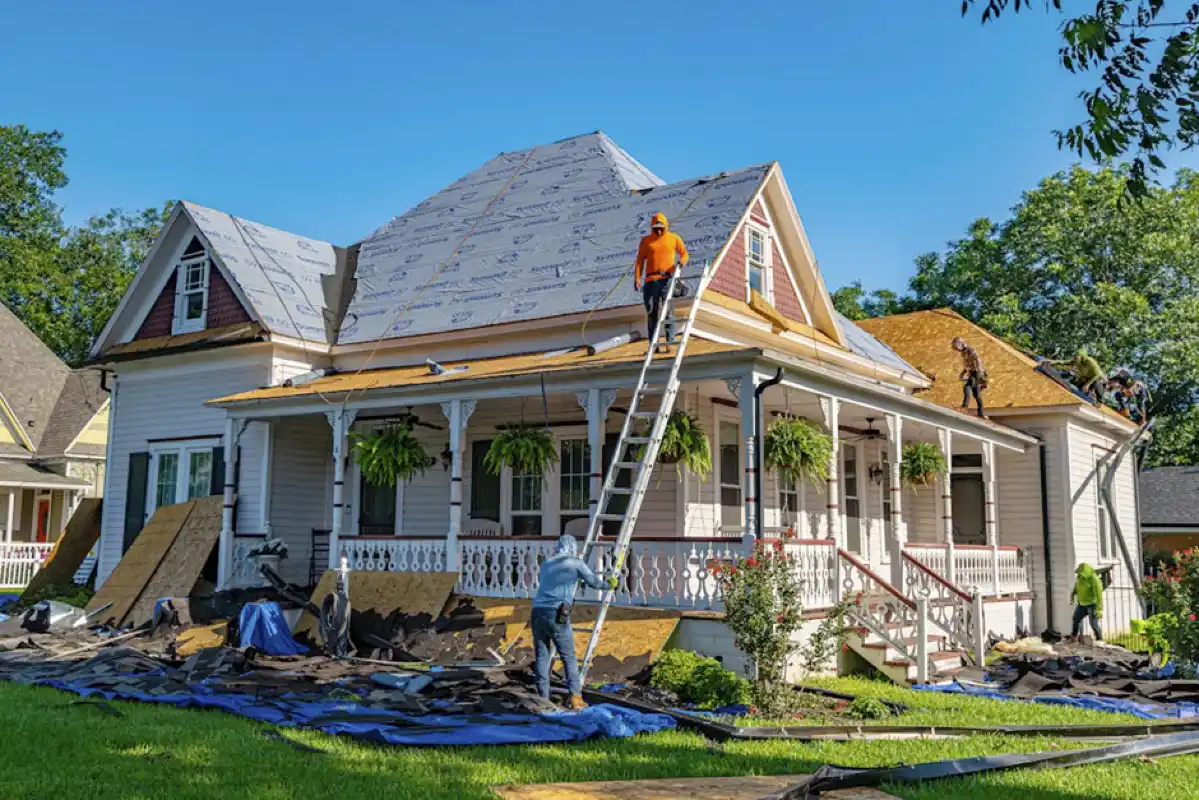
Ever stood on a steep roof with the sun cooking the shingles, nails in your pocket stabbing your thigh, and thought: Why does every tool feel like it was designed by someone who’s never left the ground?
That’s where this guide kicks in.
Think of it as the equivalent of swapping out a dog-eared trade manual for a fresh O’Reilly guide – dense, precise, and written by someone who actually knows what it’s like to balance on a ridge at dusk when the wind decides to pick up.
What single purchase cuts ladder trips this week?

Start with tools that reduce motions per square.
Because let’s be honest – climbing down for the knife you left behind isn’t just wasted time; it’s a test of patience.
Speed beats specs when shingles curl, wind gusts roll in, daylight fades.
Prioritize:
- Roofing hammer / hatchet (16-20 oz) with checkered face for non-slip hits, magnetized head for one-hand nail starts, gauge for exposure spacing. Add straight-claw geometry for under-tab nail pulls without scarring mat. Hickory or fiberglass handle balances vibration control; slight palm swell reduces finger pinch on repeated swings. Rule of thumb: if face walks on nail heads, move to a sharper waffle; if it tears felt, dress it lightly with a stone. A 16 oz hammer is ideal for asphalt shingle runs under 20 squares, while 20 oz heads give more momentum for 30-square tear-offs or steeper 10:12 pitches.
- Utility knife with hook blades for shingles; straight blades for underlayment, drip-edge tape, ridge vent mesh. Prefer fixed-body, metal-spine knives over folding bodies for zero flex on ridge cuts. Carbide hook blades last 3-5 times longer on mineral granules; keep low-angle grind (around 35-40°) for controlled pull cuts through laminated tabs. Imagine trying to slice a steak with a butter knife – it’s the same pain as cutting shingles with the wrong blade.
- Maun’s Combination Pliers hold lead flashing tight with parallel-action jaws, while the built-in side cutter trims wire or nails on the spot. That means less climbing up and down the ladder with a heavy tool bag.
- 15-18″ flat bar for lift, pry, and de-nail without decking scars. Choose bevel-thin leading edge (under 1.5 mm) to slip beneath adhesive bonds. Nail slot with offset lets you roll nails out along the grain instead of levering straight up. A 17-inch bar strikes a balance between reach and carry weight (about 1.5 lb).
- 7″ speed square for valley cuts, rafter angles, and starter-course alignment. Look for laser-etched marks you can still read when dusty; saw guide lip doubles as a mini fence for knife scores on cap strips. Check for 1/16″ accuracy across the hypotenuse – anything off will cascade over long valley cuts. (Think domino effect, but with flashing instead of tiles.)
- 25-30 ft tape with solid standout; belt clip that doesn’t pop off mid-pitch. Nylon-coated blades resist burrs that cut gloves. 11-13 ft standout covers truss-to-truss pulls without a second person. Blade width of 1-1/4″ or more prevents collapse under extension. Remember: if it collapses in the breeze, it’s not a tool, it’s a ribbon.
- Chalk line (braided for durability, blue for temporary, red for stays-forever). Thin cord yields tighter accuracy on long rips; geared rewind (3:1 or 6:1 ratio) saves forearm fatigue on frequent pops. Store blue and red in separate pouches to avoid cross-contamination. A 100 ft reel covers most ridges in one snap.
- Aviation snips (left, right, straight) for flashing, ridge vent lids, step flashing. Prefer chromoly blades and compound leverage pivots; spring-open handles accelerate repetitive trims on coil stock. Blades rated to 18-gauge cold-rolled steel (1.2 mm) or 22-gauge stainless (0.8 mm) prevent chew and chatter. Ever tried cutting flashing with blunt snips? It’s like trying to tear the Sunday Times with bare hands – messy and embarrassing.
- Slate ripper or slate hammer for natural stonework. Slightly curved ripper blade threads beneath brittle sheets with fewer surface chips. Slotted hammer face starts copper nails clean without glancing. Ripper lengths around 24-30″ give enough reach under 3-4 overlapping courses.
Field test: can each item remove two movements from a common task? Keep it. Fails that test? Skip it. Add one more check on day two: does grip still feel neutral after lunch? If not, swap handle profile or weight class.
Takeaway – Priority tools: pick what removes motions first; next up: cutting that spares wrists and materials.
Which cutters make clean edges without chewing through grip strength?
Cutting shapes every day burns hands before noon when blades fight material. Tools should feel like they’re working with you, not against you (source).
- Utility knife bodies with auto-load magazines, positive-lock sliders, metal spines that won’t flex during ridge cap trims. Textured scales prevent twist with wet gloves; short-throw sliders minimize travel on rapid blade advances. A 6-7″ body length keeps control manageable in gloves.
- Hook blades hold shingles; carbide-edge versions last longer on granules; keep one tin for clean blades, one tin for “roof blades” to avoid contaminating membrane seams. Rotate spent hooks to secondary duty on felt to stretch value without pushing through dullness on laminated tabs. Expect 5-8 linear feet of cut per blade in hot summer, 3-4 feet in winter when shingles stiffen.
- Aviation snips rated to 18-gauge cold-rolled and 20-gauge stainless; offset handles keep knuckles off panels; 10-12″ length gives leverage on hem folds. Color coding (green right / red left / yellow straight) prevents wrong-curve fights that kink panels. For long cuts, score with a scribe first to guide snips along glare-heavy coil. Handle span ideally 4-5 cm closed, 10-12 cm open for fatigue-free cycling.
- Fine pull saw for cedar shake truing; tile nippers plus slate cutter for stone without micro-fractures. Thin-kerf pull saws (0.6-0.9 mm) reduce tear-out on end grain; wax teeth lightly to stop pitch build-up. Slate cutters with 12″ handles yield crisp shears without shattering edges.
- Paint marker (silver) for metal marks visible in glare; lumber crayon for shingles. Store markers tip-down in a pouch sleeve to keep flow ready on cold mornings. Marker nibs of 2-3 mm width balance line visibility with precision.
Micro-workflow: score twice, snap once; cut away from valleys to keep granule dust out of seams. When heat rises off dark shingles, stage cuts in morning shade, then reserve mid-day for fastening tasks to protect hand endurance.
Learn more in this article.
Takeaway – Match blade to substrate; next section: prying and tear-off with deck protection in mind.