From extreme weather events to unexpected roof damage, there may come a time when you need to know how to tarp a roof. This guide will walk you through the process, offering expert tips and advice along the way.
Understanding the Importance of Roof Tarping
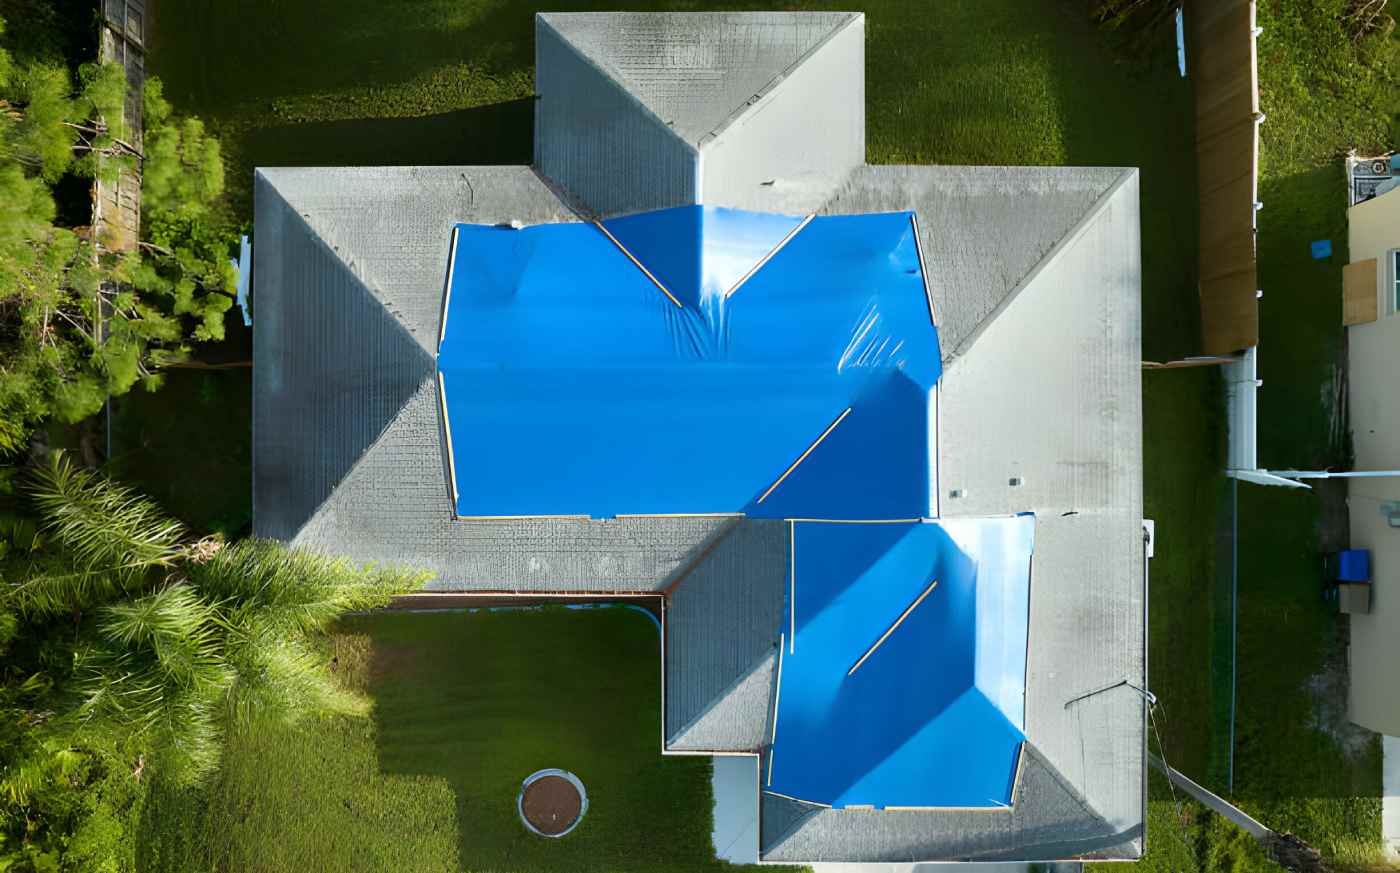
Roof tarping is a crucial process that protects your home from further damage when the roof is compromised. It’s a temporary but effective method to stop water infiltration and protect your house’s interior. It prevents the growth of mold and mildew until you complete repairs.
When Should You Tarp Your Roof?
People commonly resort to tarping when a storm or other severe weather conditions(such as hail damage) has damaged your roof, and you can’t immediately repair it. If a storm-felled tree damages your roof, a tarp can protect it until a roofer assesses and repairs the damage.
Preparing for the Tarping Process
Before you start the tarping process, it’s essential to gather all the necessary supplies. These typically include:
- A heavy-duty tarp
- 2×4 wooden planks
- A cordless drill
- 3 ¼ nails
- A ladder
- A broom or brush for clearing debris
Ensure the tarp you choose is large enough to cover the damaged area and extend at least three feet beyond it on all sides.
How to Tarp a Roof in Simple Steps
Step 1: Assess the Damage
The first step in tarping a roof is to inspect the damage. This step is crucial as it allows you to understand the severity of the roof damage and determine the size of the tarp you’ll need.
Step 2: Measure the Damaged Area
Next, measure the damaged area that needs to be covered by the tarp. This measurement will help you determine the correct tarp size and ensure complete coverage.
Step 3: Clear Debris
Before tarping, it’s important to clear any debris, branches, or leaves from the roof. This step ensures a smooth surface for the tarp and prevents any further damage.
Step 4: Position and Secure the Tarp
Once the roof is clean, it’s time to position the tarp. The tarp should extend beyond the damaged area on all sides. Secure the tarp by nailing it to the wooden planks, ensuring it’s tightly sandwiched between the boards and the roof.
Step 5: Finalize the Tarp Installation
After securing the tarp, double-check it to ensure it’s firmly in place and won’t be easily dislodged by wind or rain.
Safety Considerations When Tarping a Roof
Safety should always be your top priority when tarping a roof. Consider using safety equipment like a harness and non-slip footwear. Also, avoid tarping your roof during wet or windy conditions, as the roof can be slippery and dangerous.
Costs of Tarping a Roof
The cost of tarping a roof can vary significantly depending on various factors, including the size and pitch of your roof, the severity of the damage, and whether you’re doing it yourself or hiring a professional.
Doing it roof yourself can save you money, though it’s always advisable to hire a professional roofing contractor if you’re not comfortable working on roofs or if the damage is severe.
Professional Tarping Services
Professional roof tarping services are a great option if you’re uncomfortable doing the job yourself or if the damage is extensive. While these services can be more expensive than DIY tarping, they offer the advantage of professional expertise and safety measures.
Tarping a roof is a critical step in protecting your home from further damage after a storm or other severe weather event. By understanding how to tarp a roof and the importance of this process, you can take quick action to protect your home and minimize the impact of roof damage.
Remember, though, while tarping a roof is a helpful temporary solution, it’s not a substitute for professional roof repair or replacement. Always contact a professional roofing contractor for a thorough inspection after a storm or if you suspect your roof has sustained damage.
Frequently Asked Questions About Tarping Roofs
What is the best way to put a tarp on a roof?
The best way to put a tarp on a roof involves clearing the roof of debris, positioning the tarp over the damaged area ensuring it covers adequately with overlap, and securing it with wooden boards or battens. The tarp should be anchored firmly along the roof’s edges using nails or screws, and it’s crucial to ensure the tarp is taut to prevent water pooling.
Can I tarp my own roof?
Yes, you can tarp your own roof, but it requires caution and the right safety measures. It’s essential to use a stable ladder, wear protective gear, and preferably work with assistance. However, if the roof is severely damaged or if you’re not comfortable working at heights, it’s safer to contact a professional.
Is it OK to nail a tarp on a roof?
Nailing a tarp to a roof is a common method to secure it, especially when dealing with emergency situations like storm damage. However, it’s important to be aware that nailing can create additional holes in the roof, which will need to be repaired later. Using battens wrapped in the tarp and then nailing the battens down can help distribute the pressure and reduce damage.
How to put on a tarp roof without nails?
To secure a tarp on a roof without nails, you can use adhesive tarps or secure the tarp with heavy-duty clips and weights such as sandbags. Another method involves wrapping the tarp around wooden boards and securing these boards to the roof with ropes or bungee cords, ensuring the tarp is stretched tightly to prevent wind lift.
How do you temporarily cover a roof?
Temporarily covering a roof involves using a heavy-duty, waterproof tarp that is large enough to cover the damaged area with some overlap. The tarp should be laid flat over the damage, secured with wooden boards or battens, and nailed or screwed into place. Ensure the tarp extends past the damaged area to prevent leaks.
How to tarm a roof with rope?
To tarp a roof with rope, first, lay the tarp over the damaged area ensuring it covers adequately. Then, secure the tarp’s edges by wrapping them around wooden boards. Tie ropes around these boards and anchor them securely to stable parts of the roof or heavy objects on the ground, ensuring the tarp is pulled tight and secure.