A sturdy and well-maintained roof is a hallmark of a secure and comfortable home. One of the integral parts of this roofing system are the shingles. It’s essential to learn the step-by-step process on how to install roof shingles, contributing to your roof’s longevity and overall aesthetic appeal.
Understanding Roof Shingles
Roof shingles form the outermost layer of the roofing system, offering protection against various weather elements. They come in various materials, including asphalt, metal, wood, and more. When installed correctly, they enhance the aesthetic value of your home and increase its overall lifespan.
Importance of Starter Shingles
Starter shingles are the first layer of shingles installed on your roof. They’re crucial for preventing water infiltration at the eaves and rake edges of the roof. Besides, they provide a straight edge from where the rest of the shingles can begin installation, ensuring your roof has a clean, symmetrical look.
Safety Measures for Shingle Installation
Before embarking on the task of installing roof shingles, it is vital to prioritize safety. Here are some safety tips:
- Work in Pairs or Groups: Having someone to hold the ladder or keep an eye on you can prevent severe accidents.
- Use Appropriate Safety Gear: Always wear a helmet and safety harness, along with gloves and slip-resistant shoes.
- Handle Tools with Care: Ensure you are comfortable using all the tools required for the job.
- Avoid Adverse Weather Conditions: Don’t work on the roof during rainy, windy, or stormy weather to avoid slips and falls.
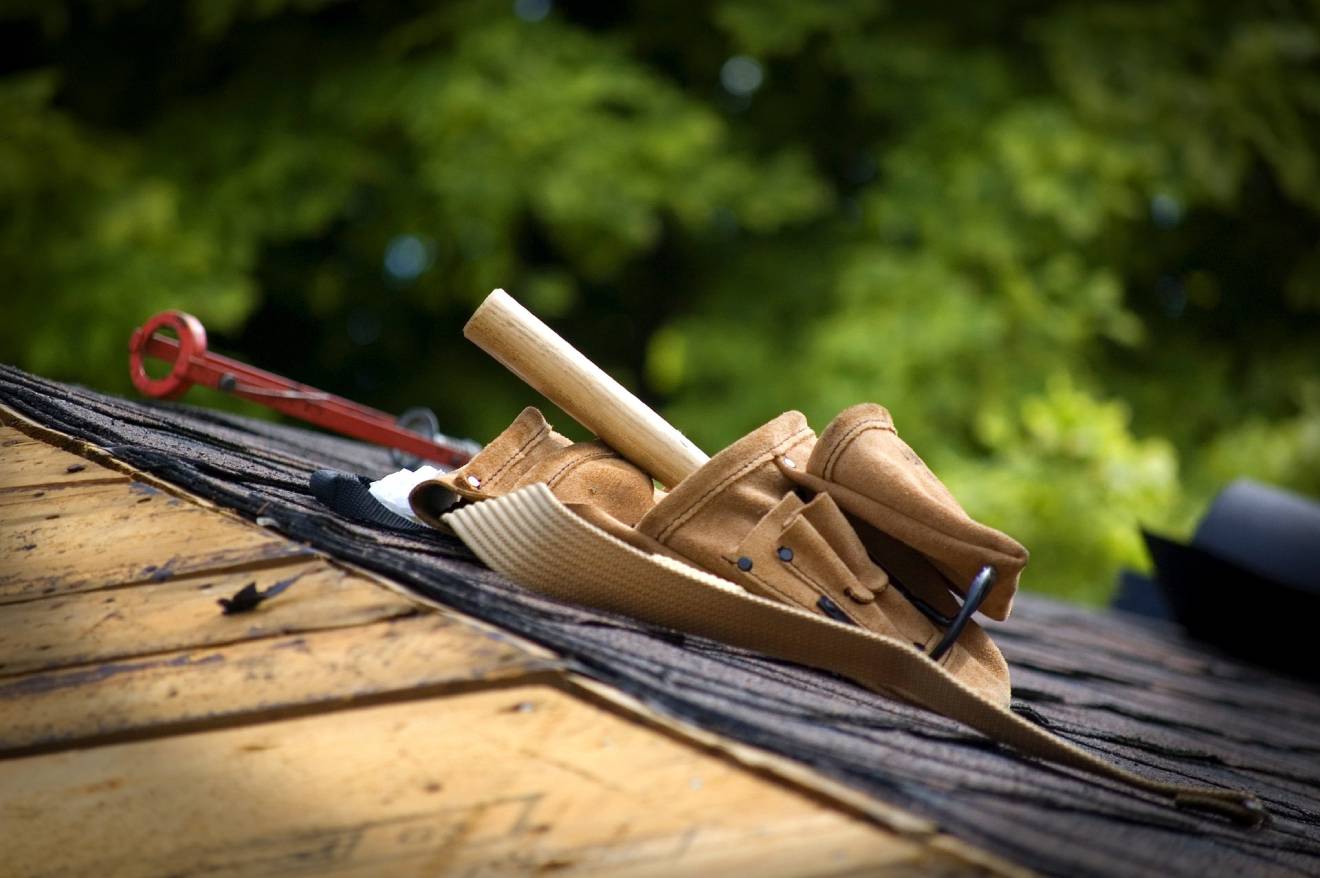
Tools and Materials Required
For a successful and efficient shingle installation process, you need to gather all the necessary tools and materials. Some of the essential items include:
- Air compressor and air hose
- Asphalt shingles
- Caulk gun and sealant
- Chalk line and straightedge
- Circular saw and utility knife
- Drip edge
- Extension ladder or scaffolding
- Felt underlayment
- Flashing: Step, dormer, valley
- Hook blades
- Roof safety harness
- Roofing nailer and nails
- Stapler and staples
- Work gloves
Preparing The Roof
The first step in installing roof shingles is preparing the roof. Start by cleaning the roof surface, removing any debris, and old roofing materials. Inspect the roof deck for any signs of damage or rot. If any issues are noted, make the necessary repairs or reinforcements. Be aware that when laying shingles around roof vents, it’s important to pay extra attention to avoid leaks.
Installing the Starter Shingles
Once the roof is prepared, it’s time to install the starter shingles. These shingles are crucial in providing a solid base for the rest of the shingles and ensuring a straight layout. They should be installed along the eaves and secured with 4-6 nails for maximum hold.
Laying Out the Shingles
Proper layout is critical in learning how to install roof shingles. Plan the layout before you start nailing the shingles into place to avoid gaps or misalignment, which can lead to leaks and damage. Remember to overlap your shingles over the ones before them for better protection against water and wind.
Installation of Shingles
Installing the shingles is the most time-consuming part of the process. It involves placing the shingles on the layout and nailing them down, difficulty of task depends on the type of roof. Ensure you follow the manufacturer’s recommended nailing pattern and technique for optimum performance. Repeat the process until you’ve covered the entire roof.
Final Checks and Clean Up
Once all the shingles are installed, conduct a final check. Ensure the shingles are straight, none are missing, and all areas requiring flashing are sealed. Remove any exposed nails or underlayment and clean up the area, ensuring no debris or nails are left in the yard.
Common Mistakes to Avoid
While installing roof shingles, avoid common mistakes like installing them on a damp roof deck, using fewer nails than recommended, and not aligning the shingles properly. These errors can compromise the quality and lifespan of your roof.
When to Consider Professional Help
While installing roof shingles can be a DIY task, it’s always best to seek professional help for larger or more complex roofs. That way you have to fix a leaking roof a few months later and paying a similar fee for the service. Professional roofers have the necessary skills, experience, and tools to handle the task efficiently and safely.
Learning how to install roof shingles can be a rewarding DIY project that can save you money. However, it requires careful planning, the right tools and materials, and a focus on safety. Always remember that if the task seems too daunting, professional roofers are just a call away.