A question that often emerges in the realm of architecture and home construction is, “What is an A-frame roof?” Let’s delve deep into the concept of the A-frame roof, explicating its design, functionality, benefits, and potential drawbacks.
Defining the A-Frame Roof
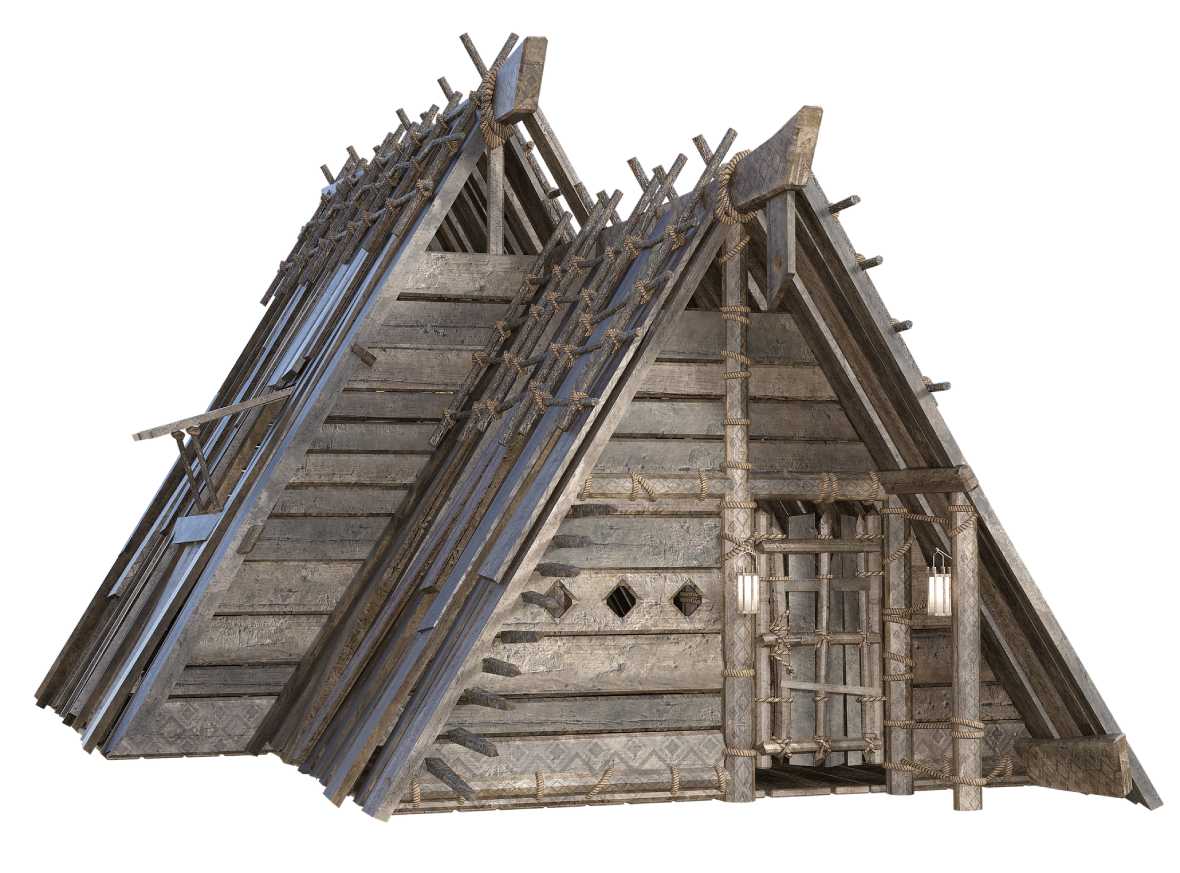
An A-frame roof, also referred to as a boxed-eave or triangular roof, is an architectural design characterized by its distinctive ‘A’ shape. This shape is formed by two steeply inclined sides that meet at the top, creating a peak. This design is not only visually striking but also boasts numerous functional benefits.
Origin
The A-frame roof is not a novel architectural concept. It has its roots in ancient civilizations, where they employed it due to its simplicity and structural stability. However, it surged in popularity during the mid-20th century, becoming a favored choice for vacation homes and cabins. This was due to its cost-effectiveness and ease of construction.
Today, this roof design has been adapted to suit modern architectural styles and can be seen in a wide array of residential and commercial buildings. Its flexibility allows it to serve various purposes, from traditional houses to contemporary structures. In Adelaide, homeowners often consider various options to maintain their properties, which is why services like roofing replacement in Adelaide remain in demand when older roofs begin to show signs of wear.
A-Frame Roof in Contemporary Times
In recent years, the A-frame roof design, once a popular option for vacation cabins and chalets, has made a comeback. Today, this versatile roof is not just used for rustic retreats but also for modern and minimalist homes.
The unique shape of this type of roof adds an architectural element to any structure, making it a popular choice among homeowners and architects alike. Currently, the most popular residential roof types are gable, hip and mansard roofs.
Pros and Cons
Like any architectural design, the A-frame roof comes with its own set of advantages and disadvantages. Before deciding on this type of roof, one should consider these pros and cons.
Pros
- Strength: Due to their steep slope, A-frame roofs are structurally robust, allowing snow, rain, and debris to easily slide off, reducing the risk of damage and leaks.
- Cost-effectiveness: Compared to other roofing styles, A-frame roofs require fewer materials and labor, making them a budget-friendly option.
- Space Potential: The design of an A-frame roof allows for easy expansion. If you need to add an extra room or floor in the future, this roof can accommodate it without major modifications.
- Unique Aesthetic: The distinctive and eye-catching appearance of A-frame roofs can enhance the overall curb appeal of your home, making it stand out in the neighborhood.
Cons
- Limited Space: The steep slope of the A-frame roof limits the available space in the attic, which can be a disadvantage if you’re looking for additional storage or living space.
- Maintenance Challenges: Its angles and slopes can make maintenance tasks, such as cleaning gutters or repairing shingles, more challenging and time-consuming.
- Complex Construction: Building this roof requires skilled craftsmanship and precision. Therefore, it may take longer and be pricier to construct compared to other roofing styles.
- Energy Inefficiency: The steep slope can make it more difficult to insulate and maintain energy efficiency.
A-Frame Roof Construction: Step-by-Step
Building an A-frame roof requires careful planning and consideration. Here is a step-by-step guide for constructing this beautiful roof:
Step 1: Site Preparation – Begin by clearing the area where you plan to construct the A-frame roof. Remove any obstructions such as trees or debris to create a flat and level surface.
Step 2: Foundation Setting – Next, lay the foundation for your A-frame roof. This typically involves pouring a concrete slab or constructing a wooden deck.
Step 3: Structure Construction – Start constructing the A-frame trusses, which will serve as the main support for the roof. Use wooden beams or metal poles to create the triangular shape of the A-frame.
Step 4: Roof Rafter Installation – Once the structure is in place, install the roof rafters. These are horizontal beams that span from one side of the A-frame to the other, providing support for the roof covering.
Step 5: Roof Sheathing Addition – Cover the roof rafters with plywood or oriented strand board (OSB) to form a solid base for the roof covering.
Step 6: Roofing Material Selection – Select the roofing material that best suits your needs and preferences. Asphalt shingles, metal roofing, and cedar shakes are popular options.
Step 7: Roofing Material Installation – Follow the manufacturer’s instructions to install the chosen roofing material.
Step 8: Finishing Touches – Once the roofing material is installed, finish the roof by adding flashing, gutters, and any necessary trim.
Step 9: Regular Maintenance – Keep your roof in good condition by performing regular maintenance tasks, such as inspecting for damage, cleaning gutters, and replacing any worn or damaged shingles or roofing material.
Insulation
Insulating an A-frame roof is vital for maintaining a comfortable indoor environment and reducing energy costs. Proper insulation can help regulate temperature fluctuations and prevent heat loss or gain.
Ventilation
Proper ventilation is critical for any type of roof, and the A-frame roof is no exception. Adequate ventilation helps prevent moisture buildup, mold, and damage to the roof structure.
The type of roof is a versatile and durable roofing style that offers many benefits. Its unique design and efficient use of space make it a popular choice for both residential and commercial buildings. Whether you are planning to build or renovate a property, considering an A-frame roof can be a wise decision.