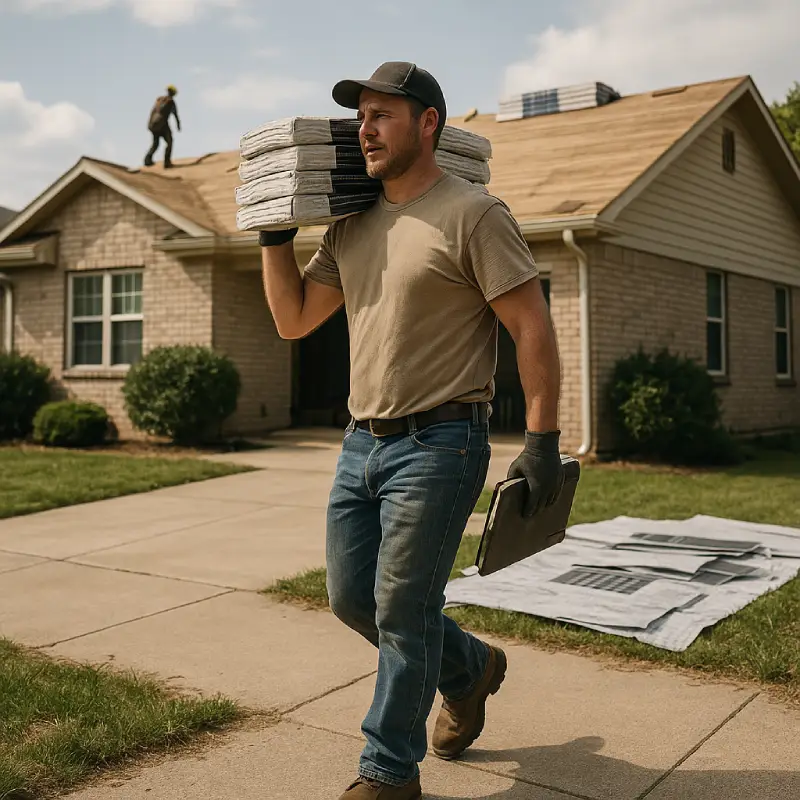
A roof restoration lives or dies on prep. The coating and mortar get the attention, but access and timing decide how smoothly the job runs. Homeowners who handle site readiness well save the crew hours and protect the house below while the work is underway.
Get a proper inspection before you prep anything
A restoration starts with facts about the roof, not guesses from the ground. Tiles crack and shift in ways that aren’t visible from the driveway. Metal shows rust at fasteners and laps long before it shows inside. A licensed inspection sorts that out and gives the contractor a plan to work from.
The report should state if the roof needs full restoration or complete replacement. That call changes everything. Cost and time shift with it, as does disruption for the household, since a recoat over sound tiles is a far shorter stay than a strip and relay.
For tile roofs, the report often points to ridge capping and mortar. Loose caps let water track in during wind-driven rain, and cracked bedding lets caps rock in high winds. Re-bedding and re-pointing lock those caps back down, which is loud and dusty work that rattles through the frame and shapes how the household plans around the noisiest day.
For metal roofs, the focus is different. The inspector looks at rust and loose fasteners, plus worn paint that has chalked or peeled back to bare metal. Coated steels like Colorbond steel and Zincalume steel need matched paints and care at cut edges and flashings, because the wrong system lifts within a season when heat and dew cycle across the sheets.
Flashing and valleys deserve a line on the report too. These joints at chimneys and skylights do a lot of work in heavy rain, and tired valley irons or split sealant lines are a common path for leaks that get blamed on tiles or sheets. If they are worn, the contractor reseals or swaps them as part of the job rather than coating over a weak joint.
Don’t book scaffolding or order paint based on a drive-by quote. Get defects in writing with photos that show each slope, and ask which parts of the work count as restoration and which are repairs. Then prep matches the real job instead of a guess made from the driveway.
Deal with age, materials and asbestos risk first
Age changes the prep list. Homes built before the mid-1980s need extra care. Roof sheets and ceiling linings of that era can hold asbestos, which can’t be seen or smelled and which only lab testing confirms.
Homeowners shouldn’t touch suspect material or try to sample it. A suitably qualified professional can arrange assessment and testing; any necessary removal belongs with an appropriately licensed removal contractor, with clearance requirements determined for the work. The restoration crew can’t grind or pressure wash until that clearance is signed off, and that step can add weeks while labs and bookings line up, so start early if the house falls in that age band.
Pull together what is known about the roof before the contractor visits. The build year helps set context for materials, while past repair invoices show what has already been patched. Photos of stains on ceilings help trace which valley or flashing has leaked, especially if they show dates after storms.
Material type shapes the rest of the prep. Tile and metal don’t restore the same way, and the household doesn’t need to master the trade to get ready. Tiles need room around the house for mortar work and recoating, with space to stack spare tiles and mix small batches. Metal needs a sound surface for rust treatment and repainting, with attention to fasteners and laps that move in heat.
If there are spare tiles stacked in the shed, point them out to the contractor before work begins. Matching profiles saves delays when a cracked tile breaks on lifting. That early clarity keeps the job safe and helps prevent last-minute surprises once the crew is on the roof.
Time the job for dry weather
Coatings and mortar hate rain while they cure. Fresh pointing stays soft if it gets soaked in the first day, and sealants can wash out of joints before they skin. Paint with moisture trapped under the film blisters and lifts, which ruins the adhesion that pressure cleaning just created.
In Perth, the dry window tends to fall across the warmer months. October to April gives the best odds for back-to-back fine days, when nights are milder and dew is lighter and the crew can pressure clean one day and coat the next without watching clouds all morning. There’s a reason most reputable contractors’ books fill early for that stretch, since everyone wants mortar and paint to cure in stable air.
Bookings outside that stretch carry more risk as fronts move through and forecasts shift overnight. If the calendar forces a shoulder-season date, leave flexibility in the schedule and ask how the contractor keeps the roof watertight if rain hits mid-job, including tarps and temporary seals at valleys and flashings.
Heat matters as well. Extreme heat speeds drying too much and can mark fresh paint with lap lines that show in low sun. Good crews start early and chase shade around the roof, working slopes in order so wet edges stay workable. Homeowners can help by giving clear access to water and power so the team doesn’t lose the cool morning hours to setup and hose runs.
Pressure cleaning sets the tone here. It removes moss along with chalk and grease so new coatings grip, and it needs a steady outdoor tap with decent flow that reaches around the house. Check the tap works and the hose reaches without kinking behind rain tanks. There’s no need to help with the wash, just make sure it isn’t starved for water on the day.
Confirm scope, permits and paperwork up front
A clear scope stops most disputes. It should list cleaning and repairs, plus flashing work and waste removal, with product names on paper for primers and topcoats. It should also spell out re-bedding and re-pointing where needed and the number of coats, since vague lines like restore roof as required leave too much open to argue about later.
Permits confuse a lot of owners. A like-for-like restoration is often treated as maintenance in many council areas, while a full re-roof with structural changes can need approval that adds time for drawings and sign-off. Rules shift by area and by job type, so the relevant council can provide guidance rather than a neighbor’s job serving as the guide. A specialist roofing perth contractor will identify whether the job is a restoration or a full re-roof, help clarify approval requirements, and carry the right insurance for working at height.
Insurance matters because roof work is high risk, with falls and falling offcuts and water ingress if a storm hits an open section. Current liability cover for the job dates is more useful than a certificate from last year, and questions about coverage are best directed to the contractor or insurer. If scaffolding is planned, ask who supplies it and who certifies it, and keep copies with the quote in one folder.
Talk through hidden finds as well. Rotten battens or split valley irons often show once tiles lift, and rust can hide under old silicone at penetrations. A discussion about how extras get priced and approved can cover a simple text approval process and a rate for extra hours before work starts. That short talk beats a standoff on the driveway when the roof is open.
Keep that folder near the meter box or kitchen bench during work, somewhere it is easy to reach. Everyone can refer to the same page when questions come up about the agreed work.
Make site access easy for trucks and scaffolding
Restoration brings gear. Scaffolding and edge protection come on a truck, and so does a skip bin if tiles or old gutters are being swapped out. The crew needs level ground close to the house and a clear path to carry rails and planks through without scraping walls or crushing garden beds.
Start with the driveway. Move cars to the street for the work days and leave room for deliveries to turn and park without blocking footpaths. Mark where the skip should sit so it doesn’t land on soft irrigation lines or fresh concrete, and send the contractor photos of gates and side paths before day one if access is tight around carports.
Unlock gates and clear the passages right through. Bikes and bins pile up fast in side passages, along with pots and tools that block ladder feet. Pull them well back into the garage for the week. Low branches that brush the eaves should be cut back by a qualified trimmer well before the crew arrives, since leaves on wet coating stain the finish and clog fresh gutters while shade keeps tiles damp.
Identify services early on the first walk-around. Show the crew the outside tap and power point, and clear the meter box and hot water unit so ladders can sit square on firm ground. Keep dogs secured away from work zones and warn neighbors about truck movements in narrow streets, which keeps mornings calm when the scaffold truck needs space to unload.
Scaffolding needs firm footing. Soft garden beds won’t do, and pavers that rock under load slow the whole setup. If the only run is over lawn, ask the contractor how boards can spread the weight safely. Leave the frames alone once they are up rather than shifting them to make room.
That setup day sets the pace for the whole week of work.
Protect the inside and plan for noise and dust
Grinding mortar sends fine dust everywhere. Pressure washing rattles windows and finds gaps around old flashings. Some of that dust drops into the roof space and sifts through downlights and ceiling cracks, and rooms right under the ridge get it worst while lower floors stay fairly clear.
Covering those rooms takes an hour and pays back fast. Lay dust sheeting over beds and electronics, and pull clothes from open wardrobes or cover rails with plastic so grit doesn’t settle into fabric. Close windows on the windward side while grinding is on, and tape the attic hatch shut with painter’s tape so dust stays up top instead of drifting down the hallway.
Talk to the crew about start times for the loudest tasks. Re-bedding and re-pointing plus pressure cleaning make for a noisy day that vibrates through the frame and sets dogs barking two doors down. Babies and shift workers feel it most, so plan to be out for those hours if possible. If someone must stay home, set up at the far end of the house with doors shut and a fan on for background sound.
Pets need a plan too. Keep cats indoors with litter and water away from open doors that get propped for hoses. Keep dogs in a closed run or with family for the day, since they bolt when ladders bang and compressors kick on without warning. Tell the contractor about anxious animals at the morning check-in so gates stay shut.
Power and water will cycle during the job. The crew may need to switch off a circuit to work safely near fittings, and pressure washers hog the tap for hours at a time. Keeping fridges shut and phones charged takes a little planning, but it makes that loud day feel less chaotic for everyone inside.
Plan the finish with gutters, trees and warranties
The last 10 percent decides how the roof holds up. Gutters and downpipes carry every storm off the new surface, and if they are rusted or sagging, fresh paint won’t save them from overflow that backfeeds under tiles. Ask the contractor to check fall and joints before the final coat, since replacement is often cheaper while scaffolding is up than as a separate call-out later when access has to be rebuilt.
Trees play into that too. Overhanging limbs drop leaves straight onto fresh coatings and into clean gutters, where wet mats stain paint and hold moisture against steel. They also rub metal finishes in wind and shade tiles so moss returns faster than it should. Have overhang cut back by a professional before work starts, then keep a simple seasonal trim cycle afterward so vines don’t climb back over the fascia and trap moisture against paint and timber.
Color and finish need a final sign-off in daylight. Ask the contractor to present representative samples safely at ground level and discuss how the chosen finish appears in different light; homeowners should not climb onto the roof to inspect them. Late afternoon shows the true tone and any thin spots around ridges. Agree on the color code in writing so touch-ups match later without guesswork at the paint shop.
Paperwork closes the loop. Get an itemized invoice that matches the scope, plus care notes for washing and moss control that won’t void cover. File the workmanship warranty with any manufacturer paperwork for steel and coatings in one place, and note the contractor contact and date of completion on the front. Keep that roof file where future buyers or insurers can find it without digging through old emails.
Do a short walk-around with the site lead before the scaffold drops. Check ridge lines look straight and valleys sit clear of mortar droppings, then look over yards and garden beds for offcuts, with a magnet sweep done for nails and screws. Photos of the finished slopes help if a storm claim ever comes up.
Restoration is mostly contractor skill. Prep is mostly owner care. Clear access gives the crew room to work, while dry timing and dust control help the technical work finish cleanly and keep the house calmer as the coating cures.